Terraform 101
Terraform is a product from Hashicorp. It is a tool for building, changing, and versioning infrastructure safely and efficiently. Written in Go, Terraform creates a plan for how it will build your infrastructure and then executes it.
Recently, we held our first master class in Terraform, courtesy of our Director of Engineering and SRE team. It was a beginner-friendly lesson with many exciting things to learn and mostly hands-on. Drawing from the class’s main learnings, this post is a basic guide to starting and destroying instances using Terraform and how we, at Ona, use Terraform for our deployments. Let’s get our hands dirty with code!
Installation
Depending on your OS, you can download the appropriate package for your system here. You then need to extract it and add it to your system’s path.
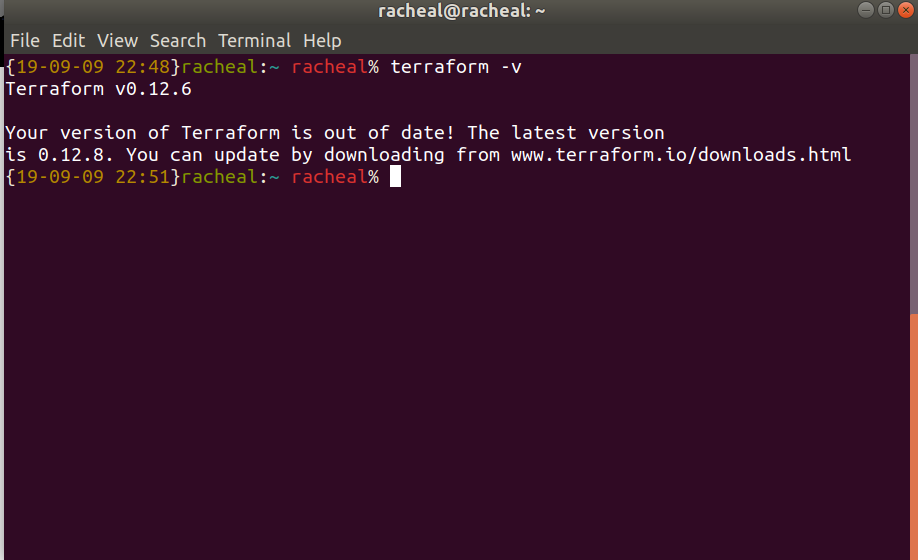
To check if Terraform is installed, run the following command
terraform -v
This is what your output should look like:
Creating an infrastructure
First, create a new directory. Let’s call it getting-started
> mkdir getting-started
> cd getting-started
Your directory should be empty. We then create a *.tf extension file. We will call ours main.tf
> touch main.tf
> nano main.tf
You can then add the following code which is similar to JSON.
provider "aws" {
  profile = "default"
  region = "us-east-2"
}
resource "aws_instance" "webserver" {
  ami           = "ami-05c1fa8df71875112"
  instance_type = "t2.micro"
  tags = {
    Name = "Jane Doe"
  }
}
The provider block let’s you define where you want to create and manage your resources. Is it in AWS? Digital Ocean? Heroku? Pick what best suits you. In this example, we will use AWS.
The profile points to your AWS config file which contains your credentials. The region shows your server’s location.
The resource block provides resources for the instance. The aws_instance is the resource type while webserver is the resource name.
ami is an id of a specific image and they differ according to the region you are in. instance_type shows the size of the instance. Lastly, tags represents any tags that we need to add to our resources. We added the name so that we can identify the instances created. Add your actual name in this case.
Apply changes
Once you are done, save the file and run terraform fmt to format your work according to terraform style guide.
Now run terraform plan. This command shows you the execution plan before applying the changes. You will probably get this on your terminal:
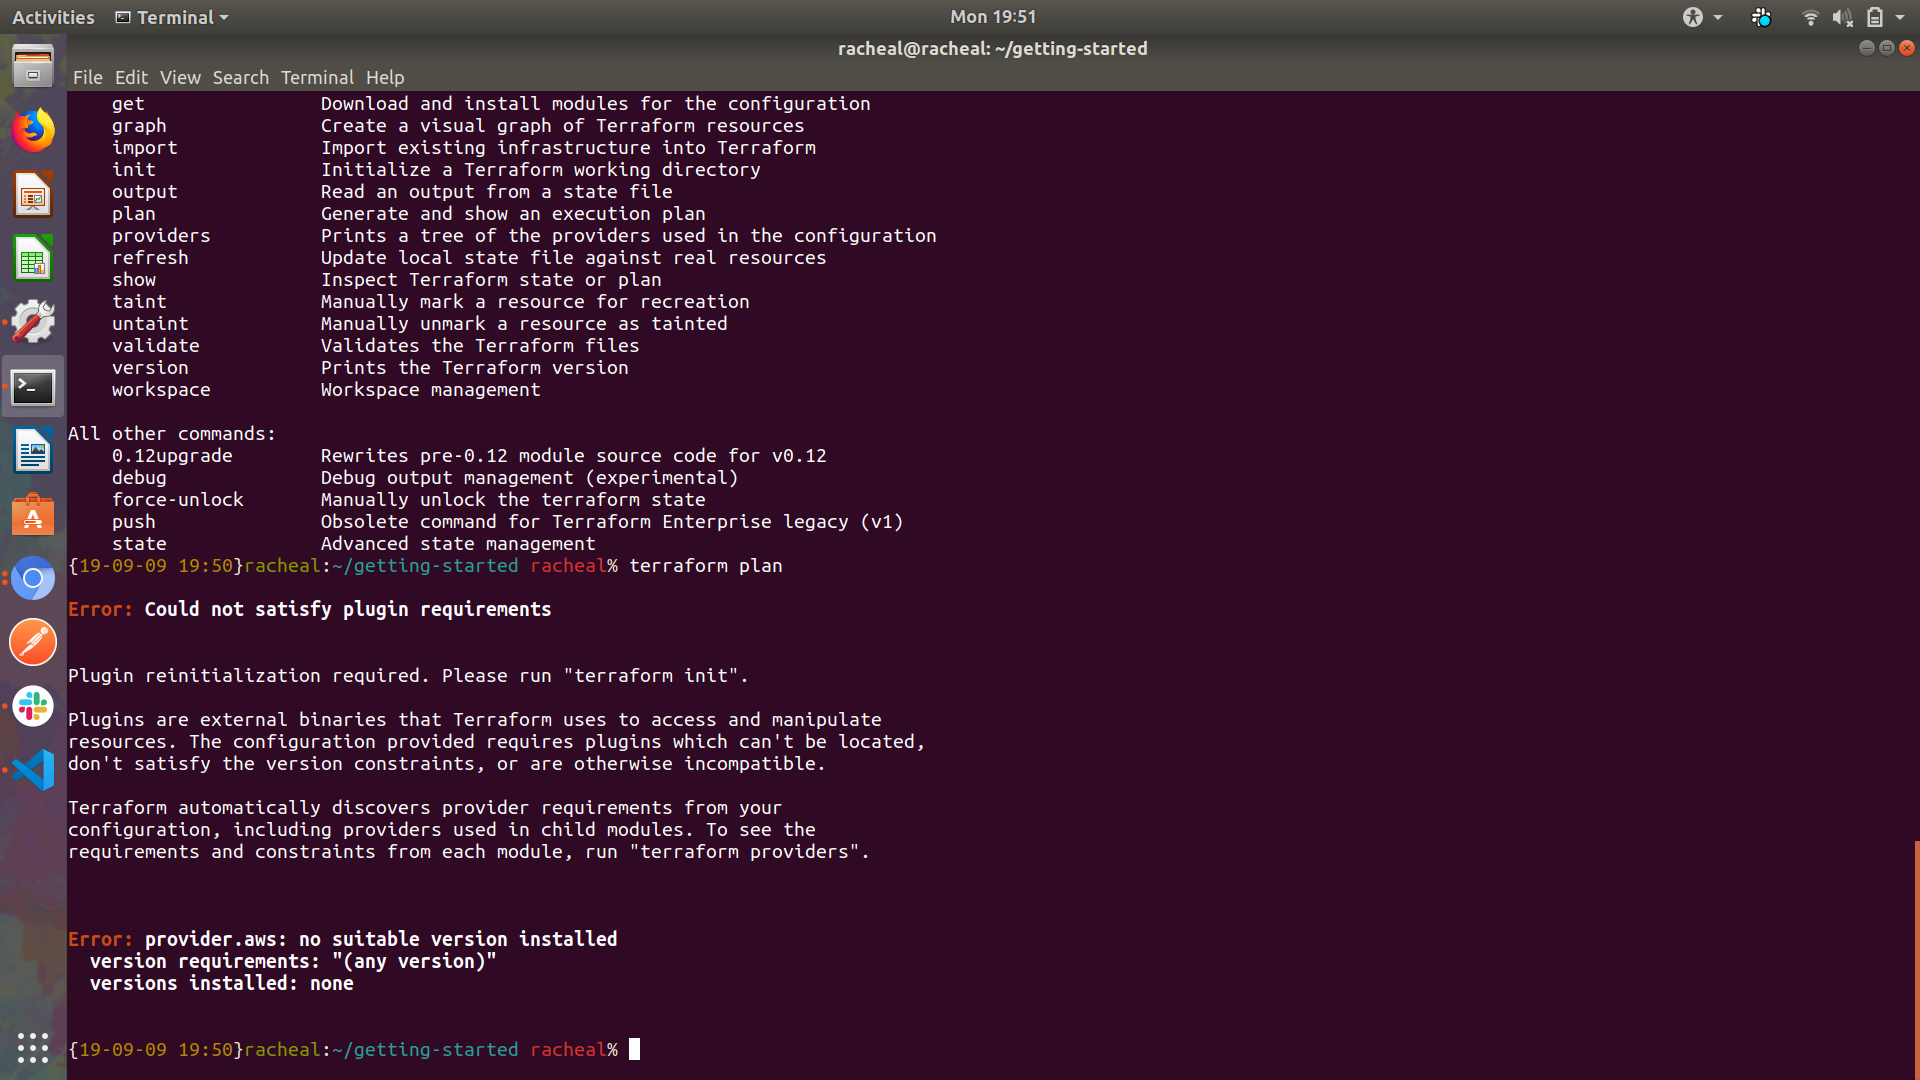
So what could we have forgotten?
Initializing! Yes, we need to initialize our directory with required dependencies and plugins. We do so by running terraform init in our terminal.
> terraform init
> ls -a
We should be able to see a .terraform file after we run the ls -a command. We can add its name to a .gitignore file when we want to push our branch remotely.
When we ran terraform plan for the second time, you should be good!
Finally, we can run terraform apply to apply our changes to our instance. Your terminal should look like the one below:
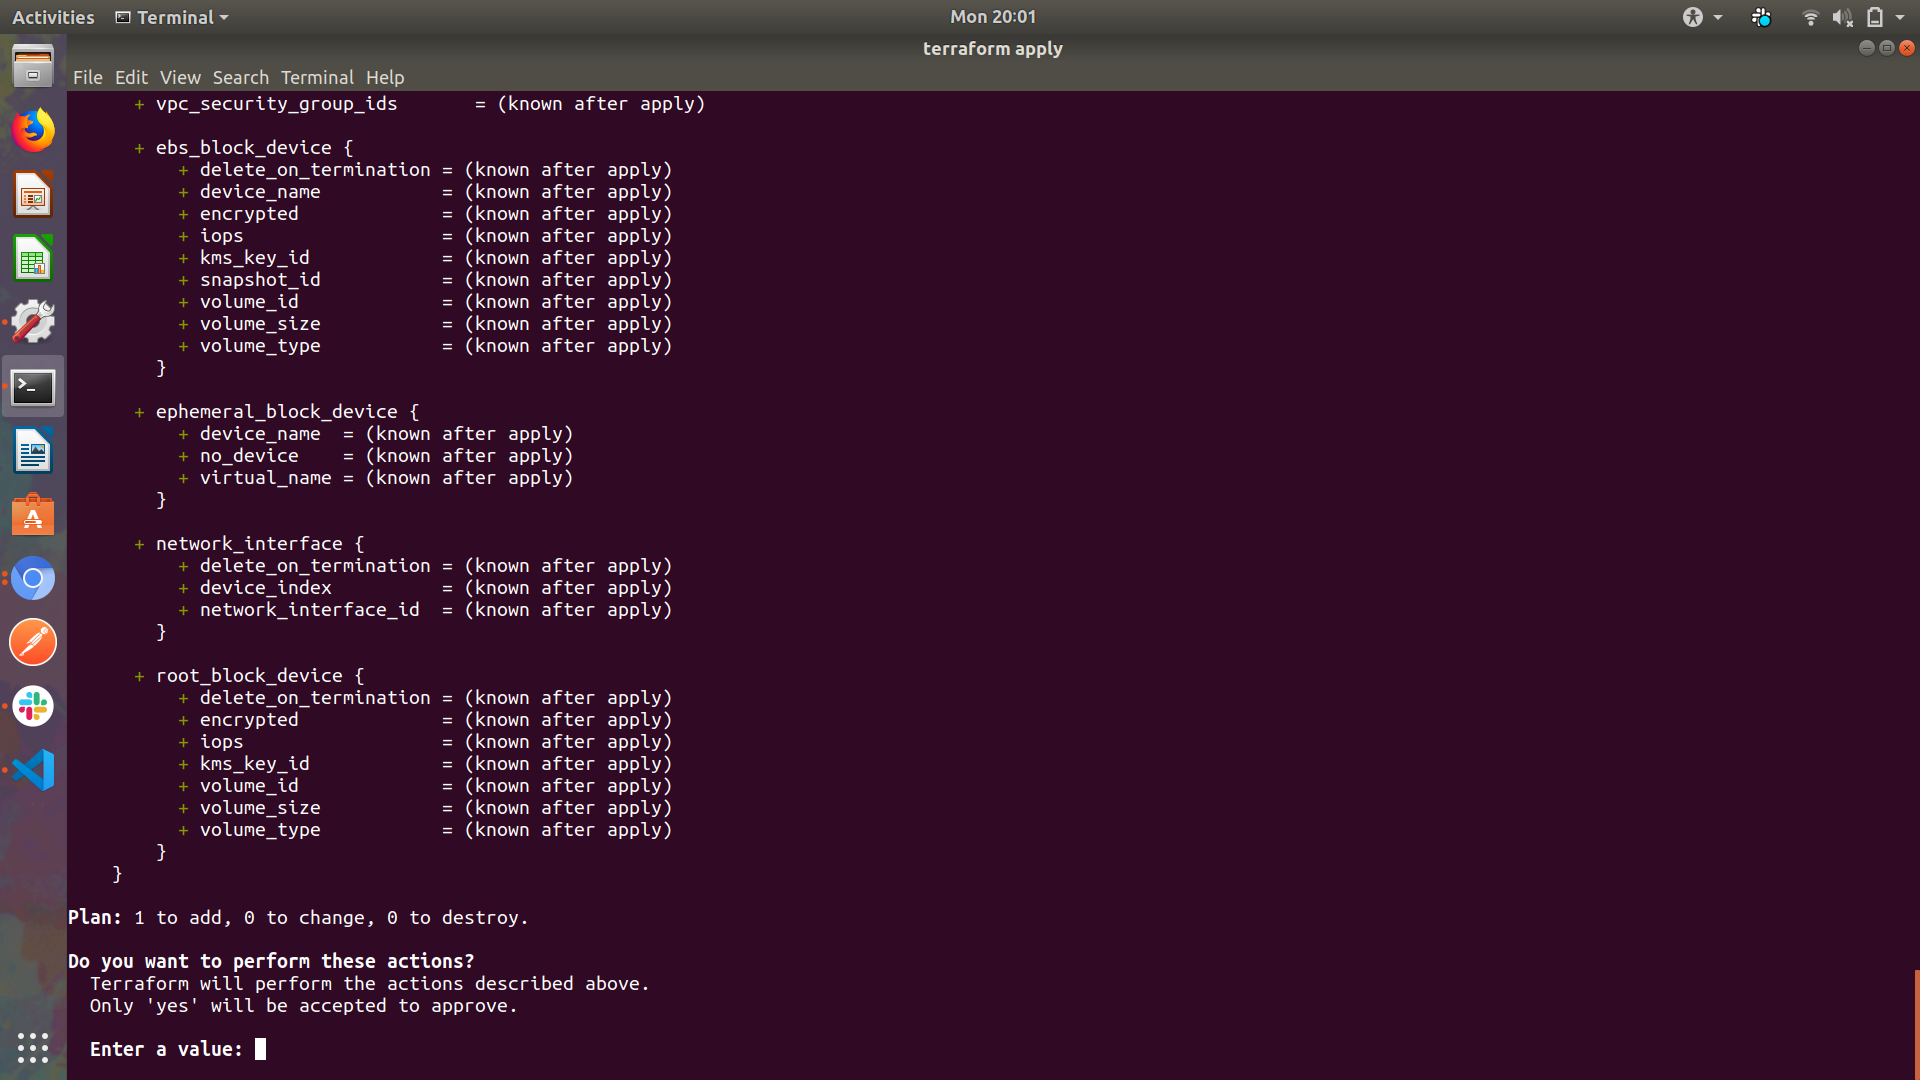
If you are satisfied with the changes, you can enter yes as a value and we are done!
When you log back in to AWS and check your EC2 instances you should be able to see the instance you created.
With just a few commands and a few lines of code, we have set up our instance, a.k.a. server, running. Cool right?!
Modify our resource
Let’s tweak our main.tf a bit.
Add App = "master-class" in your tags like so:
provider "aws" {
  profile = "default"
  region = "us-east-2"
}
resource "aws_instance" "webserver" {
  ami           = "ami-05c1fa8df71875112"
  instance_type = "t2.micro"
  tags = {
    Name = "Jane Doe"
    App = "master-class"
  }
}
Run terraform plan then terraform apply
This applies your changes.
Note that, when you run ls -a you will find a file terraform.tfstate . This file contains tracked IDs of your resources. This file is important and is needed to run Terraform. We use s3 buckets at Ona to manage the state files and would encourage you to manage them in a redundant file store.
What next?
Let’s destroy our infrastructure, shall we?
We do this by running terraform destroy and entering yes when prompted.
Check your AWS console to see if the instance is destroyed and that is it!
Check out this link for more on terraform.